
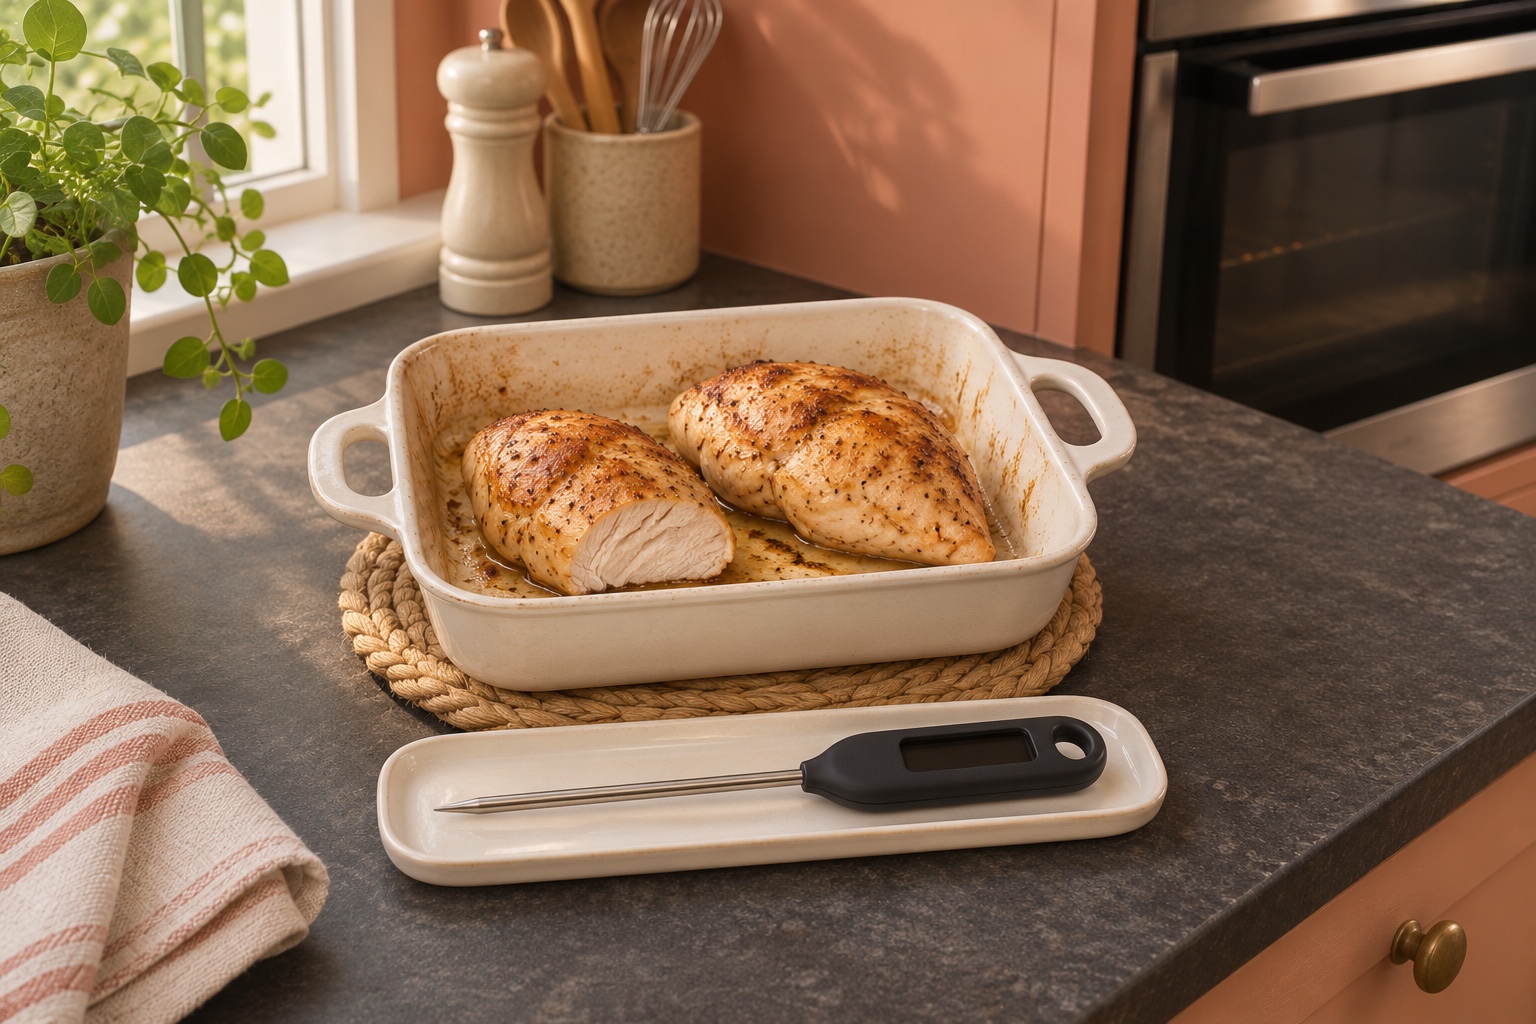
The last few minutes before dinner can be crowded: a roasting dish comes out, vegetables need serving and someone is looking for a clean plate. Give the chicken’s temperature check its own place in that sequence. Having the thermometer ready makes it easier to pause before everything moves to the table.
Boneless chicken pieces are a useful starting point for learning the routine. Look at their shape before cooking: a breast has a thicker centre and a thinner end. That gives you somewhere deliberate to aim when it is time to measure.
Know what your thermometer needs
Read your model’s instructions for its sensing area, insertion depth, response time and cleaning method. The FDA Food Code, Annex 3, section 4-302.12, explains why the probe needs to suit the thickness of the food: thin foods require a temperature-sensing probe designed for that task.
Switch the thermometer on before you need it and notice whether it is displaying Celsius or Fahrenheit. Put its instructions somewhere you can find them again. A photograph of the relevant page on your phone can be more convenient than searching a drawer while dinner is cooking.
Put the sensing area in the food
The FDA Food Code’s cooking-temperature guidance in Annex 5 identifies the centre or thickest part as the point to measure. For a boneless chicken breast, place the sensing area in that thicker section as your instrument directs. A tip just touching the surface is not measuring the internal spot.
Plan how to reach that spot before picking up the hot dish. Have a stable, heatproof place for the dish and keep the thermometer’s handle within comfortable reach. Leave yourself space to see where the probe is going, rather than reaching around serving bowls or a pile of utensils.
Let the reading guide the next step
The US FDA Food Code, section 3-401.11, gives 74°C (165°F) as the minimum cooking temperature for poultry. Use that poultry target when checking the food with a properly positioned probe. Keep it separate from the oven temperature printed in your recipe.
Allow the thermometer to respond as its manufacturer directs. If the reading is below the poultry target, continue cooking and check again with a clean probe. Check the other pieces too, particularly when their thickness differs. Treat each piece as food that needs checking, rather than assuming the first result represents the whole dish.
The oven setting and the temperature inside the chicken answer different questions. Keep the poultry target beside your recipe if that helps you remember it, and compare it with the thermometer’s reading in the food. A timer can remind you to check; make room for the result to affect what happens next.
Clean the probe between checks
The Food Standards Agency’s probe guidance, section 2.2, says to clean the thermometer fully after each use to avoid cross-contamination and obtain accurate readings. Build that cleaning step into rechecking a piece that needs more cooking. Follow the instrument’s care directions, including any limits on getting its handle or display wet.
Make a small space beside the cooking area for the clean probe and its instructions. Keep it clear of used utensils so there is a place to put the tool down after cleaning. Have a serving plate ready, but finish the temperature checks before moving the chicken to it.
Give the check a repeatable place
For a home cook in Dubai, a useful sequence is to clear a landing space, have the tool ready, measure, clean it and decide whether cooking should continue. Put the serving step after that decision. Once the meal is over, return the clean, dry thermometer to a place you will remember next time.
Original AI-assisted article for home food preparation. Sources checked on 21 November 2026. Cover: AI-generated editorial illustration of a home cooking setup.
A good read is worth sharing.
Pass this story on to someone who would enjoy it.
The conversation 0
A thought, a question, a little food for thought. Join in — no account needed.
Loading the conversation…
Be the first to add a thought.